Showing posts with label Custom Hotwheels. Show all posts

Tuesday, October 18, 2022

A couple more custom Hotwheels - Porsche 911 Targa and VW Drag Bus

 Just a short post today of two customs that I finished up.

The first is a Volkswagen Drag bus.

This was a relatively quick custom that turned out to be a little more "Christmas" themed than I had intended.

The drag bus started life and a Premium line, which means it already came with the metal base, and rubber "Real Riders" wheels and tires... so all I had to do was the paint.

After a quick dip in the stripper, I had a nice and clean casting... so I decided to try something a little different. Rather than straight paint, I had a can of clear green... and I thought why not.. let's see what happens.


Give it kind of a Candy green color... you can still see some of the sanding marks from where I cleaned it up after the stripper.

I also have some candy red that I tried to apply a "scallop" flame design to the side.

If you look close, you can see what looks like an outline on the scallops... this is actually where the red and green overlap.


As a relatively quick custom, the graphics were hand painted, along with headlights, taillights, rivets...

And some engine detailing on the base... just to make it look a little less toy-like.


Engine block, valve covers, fuel tanks were all painted, and I even added a little "heat staining" to the exhaust pipe.


The other custom I completed was a little more involved.

This one started as a Porsche 911 Carrera, and I decided to make a Targa out of it.

So out come the saw, and removed the center section of the roof.


With the interior a little more exposed, I though a nice hoop rollbar would be a nice addition.

So a small hoop made of bent brass rod was shaped and fit to be just behind the seats, and still be low enough to fit under the roofline.

A little selective painting brings out the details like headlights, taillights, exhaust tips, door handles... Again all in an attempt to make everything look a little less toy-like.


A set of resin 3D printed "FUCHS" style wheels completed this Porsche Outlaw looking creations.

I even modified where the axle fits on the base to "lower" the ride height of the car. With the lower profile tires, and raised axle location... this finished piece just barely still rolls without the tires getting hung-up.


Tuesday, October 4, 2022

Custom Hotwheels - Datsun 240Z - OFFROADER

 Here is yet another custom car from the local challenge.

This time it was Datun's iconic Z-car... the 240Z.

I don't have any before pictures... but decided to go with an off-road safari look.

This one was rather extensive in the changes I made.

Raised the suspension and added some big off-road wheels and tires from a Matchbox I had torn apart.

And even added a spare on the roof.


 There was an attempt made at a roof rack from bent brass rod.  I ran out of time, and it wound up more like a small ring... but it gave me a spot to mount all the "Daylighter" style offroad lights with their little yellow smiling faces.

Next up was the "snorkle" to make sure the engine can get fresh air while crossing rivers and streams.

A light misting of tan acrylic paint made it look nice and dusty... A careful brushing of two different colors of brown and tan behind the wheels and along the bottom looks like even more dirt, and some mud splattered there.

The last touch.. .which shows up a little better in this picture as to cut a mask for the windshield in the shape of where the wipers would have cleared the dust and mud off the windscreen.


This one was a lot of fun, and really liked the finished look.

Lots more to come!


Tuesday, September 27, 2022

Hot Wheels Custom - Bentley Continental GT

 Kind of already blew this one in the last post about the tools I use... 

So here are a couple more pictures of the finished product.


This one was almost painted in "reverse" order.

The car was stripped down and painted black... Then all the little sqaures were added to the black car.


With all of the black squares in place, the car was then painted white, followed by the yellow, orange and red to create the fade from front to back.

Small details like the head lights, tail lights and the number 17 were all handpainted.

And for a little something extra, I replaced the wheels and tires with some resin 3d printed parts that I had ordered from another builder I follow. They have super low profile tires... but really make it look ready to go tear up the track.


Lots more coming, just have to decide which one to cover next!

Thursday, September 15, 2022

Custom Hotwheels - Disassembly

 I am sure there are lots of threads out there in the internet on how to do this... and I don't know that I do anything especially different from anyone else. This is just the method that works best for me.


So with this random 80s movie reference... Let's begin to disassemble...


Extra points to you if you get the reference.

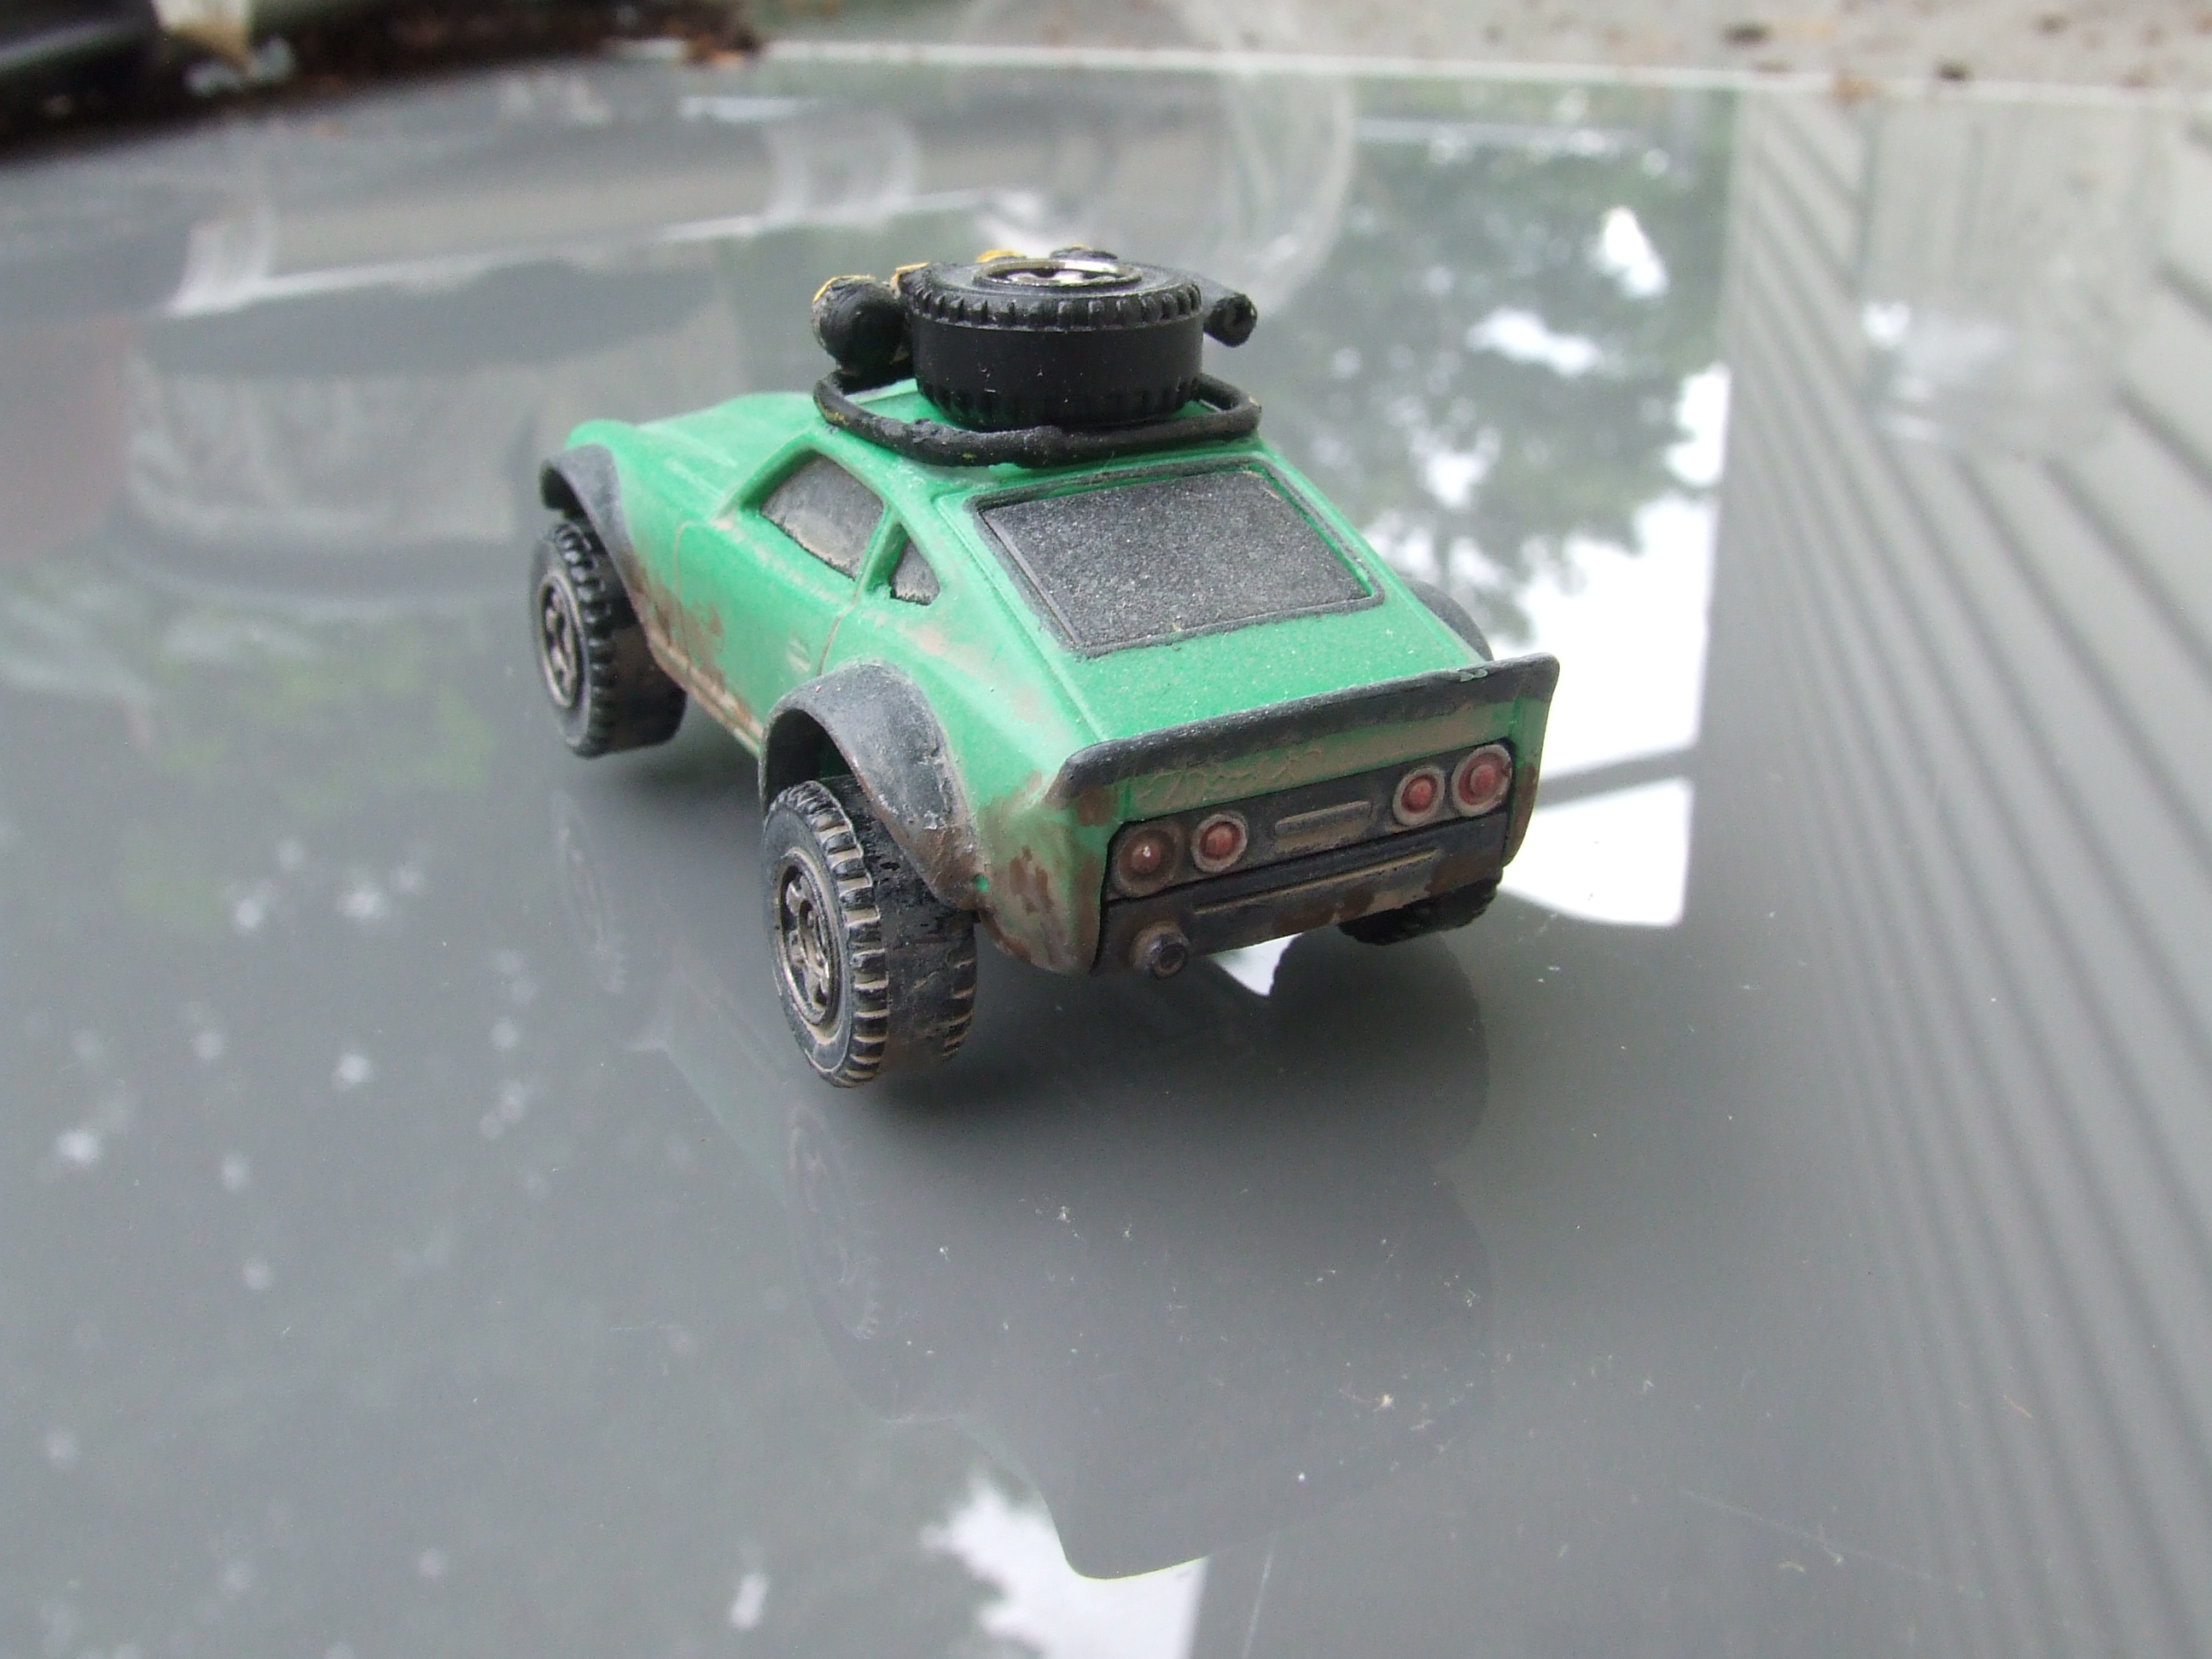
For this segment I am going to be taking apart an LB Super Silhouette Nissan Silvia (S15). Though the process is pretty similar to most Hotwheels


Every Hotwheel that I can remember of have dealt with are held together as a "sandwich of parts.

There is the base (with the wheels) the interior piece, the clear (or colored) plastic that makes up the windscreens, and the body.  The body has long "post" molded in that go down through all the layers, and is flared at the bottom to create a "rivet" end that holds everything together.

Here you can see one at the front of the car, and one in the back. The back one still has the yellow paint from the body.


And here is a little closer picture of the one in the front.

The "head" of the rivet is "squished" out to create a flare that is bigger than the hole it came through in the base and holds everything together.

This is the key of how we are going to get everything apart!


For the first step you really only need two of the three tools shown here.

A drill... and a 5/16" drill bit. Again, this size works best for me, but you want something that is large enough to take the top of the river off, but not chew up the base.

I have done more than a few of these, but be prepared to practice a few.

One of the more common problems I have encountered comes with the plastic base cars. As you are drilling the top off the rivet... sometimes the bit will "grab" the base and gouge a big hole in it. This will get the base loose, but does look a bit messy. Luckily this one cooperated, and both rivet heads came off cleanly.


And a little better picture of what I am left with.

From here, usually with just a little encouragement you get a nice pile of pieces.


From here, you can go on to stripping and repainting, swapping wheels, and anything else you want to do to the parts.... but I have a couple of other steps that I do to prepare it for re-assembly when all that hard work is done.

After drilling the posts will look like this, and will work great for re-assembly using superglue to hold the base to the body (with the interior and windscreen pieces in the sandwich) but I like to go a little further.


So I get out my Dremel with a round metal bit, and shave the posts down a little bit and round them out.

This certainly isn't the route you want to go if you are super-gluing everything back together at the end as the posts may be too short now... but I have another plan!


In the second picture, you can see the shortened, and rounded posts.

The next step is probably one of the two trickier steps....

We are going to drill a 1/16" hole in the middle of the post... Not all the way through, but down about 1/4".... Be careful with this step.... the 1/16" bits are very small and break quite easily. I think I bought a cheap pack of them at Harbor Freight... heck I even broke one while trying to take the pictures for this.


The next tool you need is a 2-56 tap set. (I think I got mine off of Amazon).


For those not familiar, a tap is a special cutting tool that cuts threads on the inside of the hole that you just drilled.


Here you can see the tap doing it's thing. There are small shavings coming out that are the threads being created... 

Three little tips for this step...

1. Same as the drill bit, the tap is pretty fragile... go slowly... It can be difficult to get it started.

2.I also like to use a small drop of a lightweight oil in the hole...(I use gun oil).. this helps lubricate the cutter, and also helps to keep the tap from clogging up too quick.

3. GO SLOWLY.. I know I said this above... but be gentle.. too much pressure will snap the tap off in the hole... and be sure to back the tap out a LOT and clean it off. This helps the threads to cut cleanly, and helps you get the tap back out of the bod.


Now that we have the posts for the body drilled, and tapped... it's time for these little guys.

Specifically these are #2-56 Button Head Socket Cap, Stainless Steel, Full thread screws. (3/16" length).

All that means is they are little machine screws with the same thread  as what we just tapped in the body. they screw in with a teenie-tiny allen head wrench...

And when done....


They look almost like the original thing.

Couple of pointers here. 

Using these screws you have to use the dremel to shorten the posts, so that the screws will seat against the chassis and pull everything tight. On some castings, if you don't it won't pull everything together nice and tight.

The same issue can happen if you don't drill the hole deep enough, and the screw bottoms out before everything gets pulled tight. This you can sometimes fix by drilling the hole deeper and adding more threads with the tap.


So that's my method for disassembly....It takes a little longer then the super glue method... but I am definitely fond of the final look when done.


Up next - STRIPPERS!!!


Tuesday, September 13, 2022

Hot Wheels Custom 2016 Camaro - Drag Car

 I have mentioned in the past that there is a local group of collectors and enthusiasts of HotWheels who get together on a semi-regular basis. And on some of those occasions we attempt a "custom car buildoff".


One of those meetings a while ago, the selected theme was Camaros... or was it Drag Racing... I forget... it's been a while.


But I still have my entry... It was a "Grumpy's Toy, 2016 Camaro".

I painted it white, molded a huge cowl for the hood, and printed up some custom decals for the doors and contingency sponsors.


I also built a low-profile rear wing out of some flat pieces of styrene sheet that I had laying around.


It must have been a drag car to start with, now that I am looking at it again. The chassis has molded in wheelie bars... but I did a little cutting to fit the massive rear tires in there!


I used some spare wheels and tires laying around for the big drag tires out back, and the skinny little tires up front.


In the end, it came out pretty clean, and definitely looks mean and ready to race!

Tuesday, September 6, 2022

Hot Wheels Custom LB-Works Lamborghini Huracan Coupe

 Another super exotic that I wanted to do a simple custom of was the Hotwheels LB-Works Lamborghini Huracan Coupe.

A top of the line performer for Lamborghini, with an aggressive after market body kit from LB-works.

Wide fender flares are a halmark of LB-Works, and all their styling kits.


It started in basic white... but I felt a different color would suit the shape just as well.

So I disassembled the pieces as they came and stripped the car down to bare metal.

I quick base of black primer, followed up with a coat or two of some color-shift pigments I found a hobby store, and you get a red-blue color shifting Lamborghini.


The color-shift is obviously hard to photograph.. but I did my best.

I also got the first clear coat down (a light coat with the pigments so they don't "wash away" in the cear), and I was left with almost a semi-matte finish. 

I kind of liked it... so I stayed with it.


A little time with some small brushes for the little details like headlights, tail-lights, and I think this one is about done.


The selection of premium cars has been lacking lately, and I didn't have any "real rider" rubber tires and wheels to add to this one... but I think these wheels fit the shape and performance look nicely.


A last trick that I picked up from my larger modeling tips... a white Gel Pen that I bought at a local art store. It looks just like a fine tipped ballpoint pen, but has white gel ink in it.  Works great for picking out tiny details like the rivets on the fender flares.. and even tried a little lettering on the hood and rear spoiler.


Thursday, September 1, 2022

Hot Wheels Customs - Dubai Police Cars

Dubai has long been known for it's fleet of super-cars.

Quite a while back, I had visited the idea a Ferrari 599x, and got so far in to it, I even made a custom card for it. (see my older posts).


Well, one day I decided to revisit the idea, and added two new cars to the fleet of high performance pursuit vehicles.


The first being a Lamborgini LM02... the original hyper SUV.  Not many were made, but with it's V-12 Lamborghini engine, it was comfortable at 120+mph across the desert sands.

And the second new edition to the fleet is a new Ford GT.

Another amazing vehicle capable of 150+ mph speeds.


Both cars are painted basic while, and have my custom printed (by me) decals.


Some of the smaller details like headlights, light bar, and vent openings are all painted by hand.


Wednesday, February 3, 2016

Hot Wheels Porsche 356A - Custom Convertible

Several weeks ago I posted the custom Ferrari 599 that I did as a police car for the monthly "get-together"...
Well, this time the theme was Porsche... and beyond that it was pretty open.

Well, I had this sweet little Porsche 356A that just came out, and couldn't help myself. I just had to tear in to it!
Here it is already separated from it's base and most of the black paint has been stripped off.
A few molding lines that needed to be cleaned up, but other than that, a solid starting point!

Out come the POWER TOOLS... A Dremel with a small cut-off wheel made short work of removing the roof and making the spider version. Some clean up and shaping with small files and we were just about done with the major surgery.

A quick mock-up to make sure everything still fit back together.  The clear plastic "glass" was cut down so that only the windscreen remains. It took some special care, and a lot of metal filing to leave the windshield frame. Luckily... the clear part was molded in such a way that it would stay in place when it was all sandwiched back together.
And with a lack of progress pictures, here is the final product.
The wheels were swapped for a set from Matchbox that I felt looked more correct for the basic roadster look I was going for.
Simple medium grey paint with details picked out like the headlights, leather hood tiedowns...

The interior I left red plastic, but added a little dark wash to bring out some of the details, and make it look a little more used, and less factory fresh.


And the final piece is the "boot" covering the retracted top.
This was molded from a piece of polymer modeling clay.... It stays soft and pliable until you bake it in the oven... (don't throw the whole car in there, just the clay part).
I could have spent more time getting it symmetrical, and smoothed it out some, but time was running short and I wanted it done for the meeting.

So there it is, my latest custom creation.
Not sure if there is a theme for this month's or not... I may not have one ready in time for this month.

But starting on a new 1/24 kit from Tamiya... very excited, but all of the decal work will be a project in itself.

Thank for stopping by!